Plugin Installation
Once purchased the plugin can be downloaded through My Account at Downloads section.
The package can be installed on a WordPress instance through internal plugin upload functionality. At Superadmin Network Dashboard interface, go to Plugins > Add New
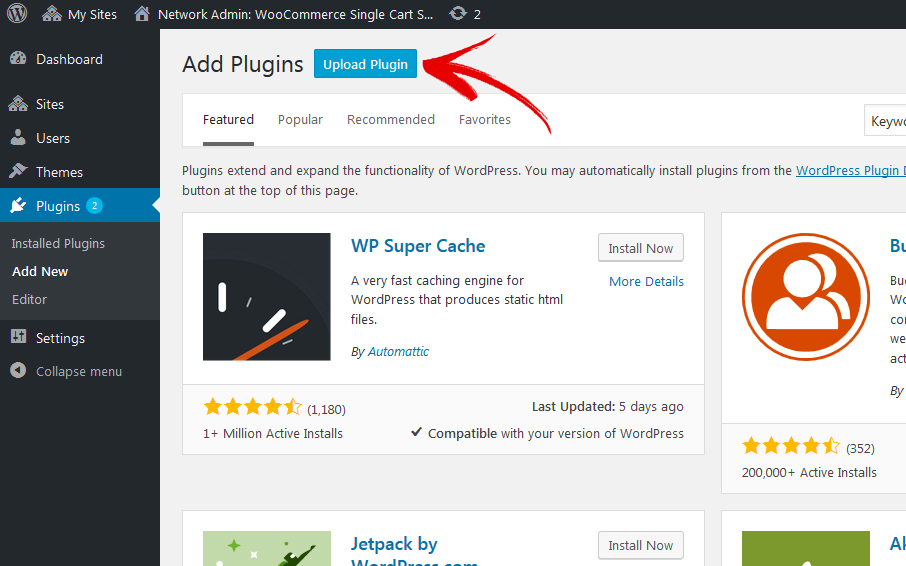
Chose Upload Plugin and Browse to location where the plugin archive was previously saved.
Click Install and Network Activate. The plugin is required to be activated through Superadmin dashboard to be available to all sites in the network.
Important ! At this point, depending on used browser, cookies and cache data is recommended to be cleared and a browser restart might also be required. This ensure the new login cookies are used instead cached.
As alternative method, the plugin can be uploaded to server through FTP
Related Posts
Name: woogc/global_cart/sites
Type: Filter
Arguments: (array) $sites_ids
The...
Name: woogc/single_checkout/split_order/order_created
Type: Action
Arguments: $new_order
The `woogc/single_checkout/split_order/order_created` action...
The WordPress WooCommerce Global...
By default, on Product...
Name: woogc/ps/synchronize_product/child_product
Type: Filter
Arguments:
(object)$child_product
(array)$main_product_data
(int)$origin_product_blog_ID
This filter...
The WooCommerce Global Cart...
Name: woogc/ps/interfaces/sync_to_shop
Type: Filter
Arguments: $status, $remote_blog_id, $post
The...
Name: woogc/ps/synchronize_product/completed
Type: Filter
Arguments: $child_product_ID, $main_product_ID,...
Name: woogc/ps/interfaces/synchronize_to_sites
Type: Filter
Arguments: $sites
The filter...